
Learn how to navigate, explore, and confidently use the documentation to master GraphQL queries, mutations, and beyond.
GraphQL queries and mutations may feel like "magic" at first, but they become simple once you know where—and how—to look for the information. Every available query, mutation, parameter, and return type is detailed in the GraphQL Playground Docs. In this guide, we'll walk through the process step by step so you can independently learn how to build and execute GraphQL operations.
Step 1: Open the GraphQL Playground
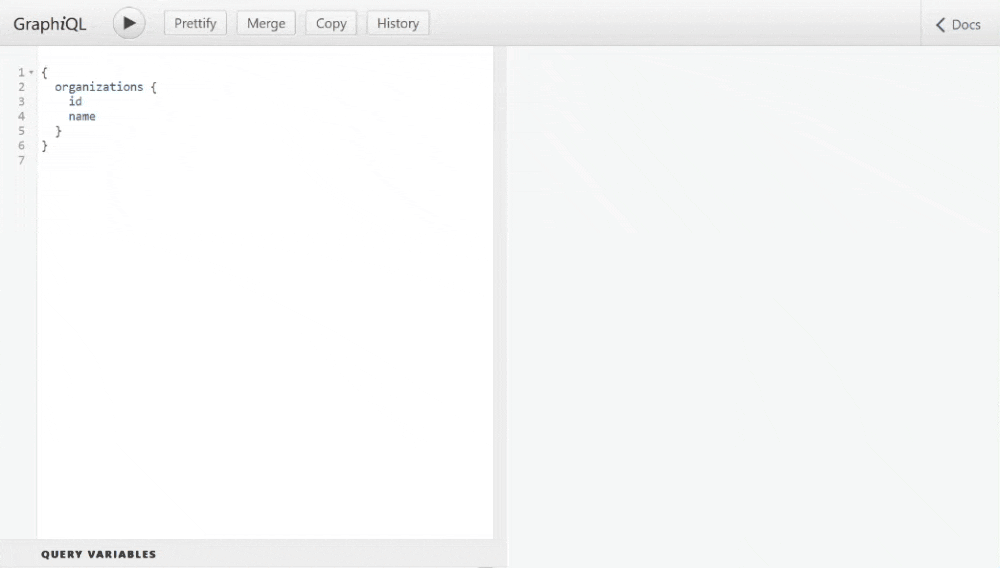
To discover available queries, mutations, and their details, start by opening Pipefy GraphQL Playground. This is an interactive tool where you can:
- Write and execute GraphQL operations.
- Explore available resources, parameters, and return types.
The Playground will display documentation for everything you can query or mutate.
Step 2: Explore the Available Operations
On the right-hand side of the Playground, you'll see a "Docs" tab (sometimes labeled "Schema"). Clicking on this tab will reveal a structured list of all available operations in your API. These operations are divided into:
- Queries: For retrieving data from the server.
- Mutations: For modifying data on the server (e.g., creating, updating, or deleting records).
Example: Inspecting Queries
- Open the Docs tab.
- Select Query from the top of the list.
- Browse the list of available queries to find the operation that matches what you want to retrieve.
Example: Inspecting Mutations
- Open the Docs tab.
- Select Mutation from the top of the list.
- Browse the list of available mutations to find the operation that matches what you want to create, update, or delete.
In both Queries and Mutations, you will see details about the operation, such as:
- The required arguments (parameters).
- The return type.
- A list of fields or nested objects you can request in the response.
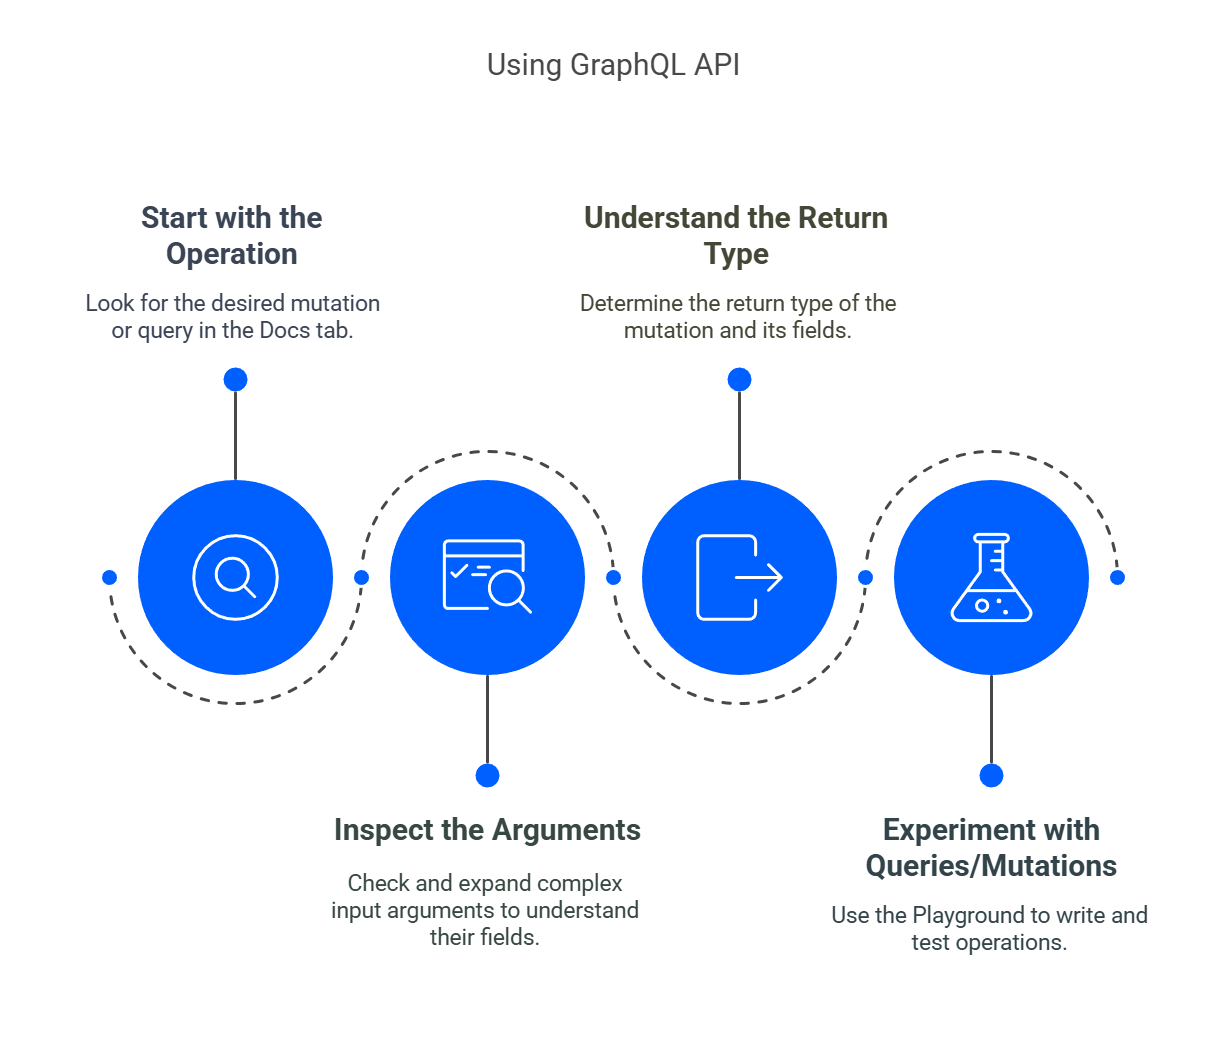
Step 3: Understand the Structure of an Operation
Every GraphQL operation (query/mutation) has three key parts. Here’s how to build one efficiently:
1. Operation Name
The name of the query/mutation you want to execute.
Examples:
- Query:
pipe(fetch data about a specific pipe). - Mutation:
createCard(create a new card).
2. Arguments (Parameters)
Inputs needed for the operation.
Required vs. Optional
- Required: Marked with
!(e.g.,id: ID!). Must be included. - Optional: No
!(e.g.,title: String). Can be skipped.
Scalar vs. Input Objects
- Scalar: Single values like
StringorID.
pipe_id: 123 # No curly braces for scalars
- Input Objects: Grouped fields wrapped in
{}(e.g.,CreateCardInput).
input: { pipe_id: 2, title: "Hello World" } # Curly braces for structured inputs
Check the Docs tab to see if an argument is a scalar or input object.
3. Return Type
The data structure returned by the operation. Select only the fields you need.
Example for createCard:
- Return Type:
CreateCardPayload(contains fields likeid,title). - Request Specific Data:
createCard(input: { ... }) {
  card {
    id     # Return only the new card's ID
  }
}
Example: createCardMutation
mutation {
  createCard(input: {
    pipe_id: 2,             # Required (ID!)
    title: "New Project",   # Optional
    assignee_ids: ["12345"] # Optional
  }) {
    card {
      id    # Return the new card's ID
      title # Return the new card's title
    }
  }
}
Quick Tips
- Check the Docs Tab:
- For arguments: Expand the operation (e.g.,
createCard) → see required/optional fields. - For return types: Expand the payload (e.g.,
CreateCardPayload) → choose fields to include.
- For arguments: Expand the operation (e.g.,
- Mandatory Fields: Look for ! in the Docs (e.g.,
pipe_id: ID!). - Autocomplete: Press
Shift+Spacewhile typing arguments or return types to see all available parameters.